Watercolor Paintings with Black Glue Outlines
Another one of our summer projects, inspired by a project from my daughter’s school art program – watercolors with an outline of black glue. This gives the picture the appearance almost of stained glass, and keeps the colors from bleeding over the lines. I loved doing this project and the kids did too! It takes a bit of prep work, but it’s worth it.
Start by preparing the glue. I used regular Elmer’s school glue for this and it worked fine – probably any white glue would work. Pour all the glue out of the bottle into a disposable bowl and add black paint. I used a liquid craft paint, but I think powdered tempera paint would work much better to keep the glue’s consistency. Once the glue is tinted black (it can look dark grey and will still dry black) carefully add it back to the bottle and put the lid back on.
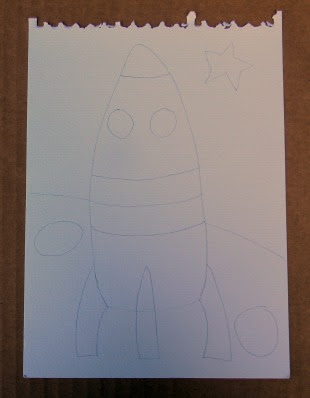
Next sketch out the image you’ll be painting on watercolor or other stiff art paper with a pencil. Try not to use too many lines – now is not the time for careful shading. You’ll add shading and detail to your picture with the watercolor paint.
Once your picture is drawn in pencil, go over the lines with the black glue, using light pressure to avoid big clumps or blotches of glue. At this point you’ll need to let the glue dry, and depending on how thick and dark the lines are it might need to dry overnight.
Now comes the fun part. When the glue outline is dry, use watercolor paints to finish the image. You can see it looks great with vibrant or muted colors.


