Super Sweet New Year’s Gifts
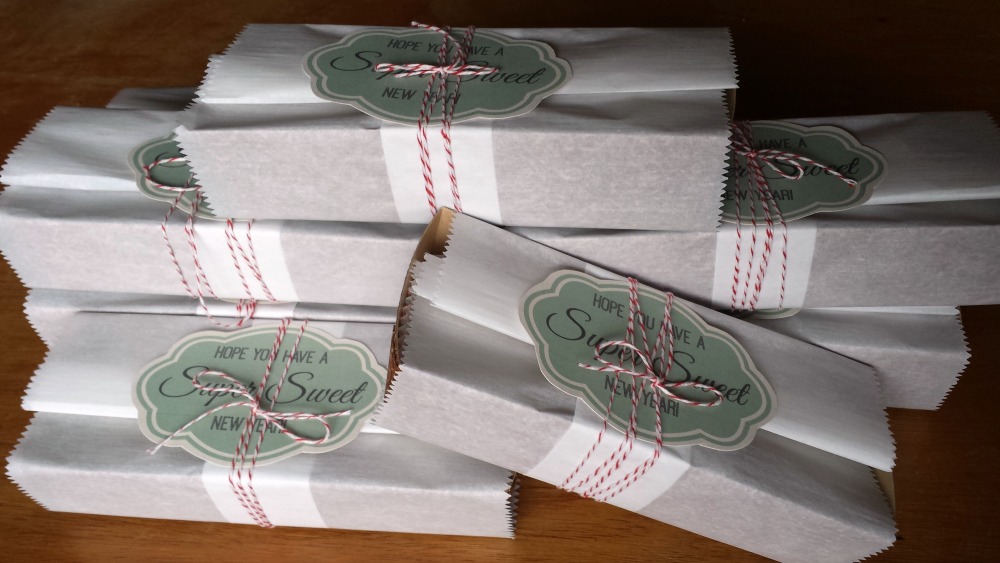
I made homemade caramels and marshmallows for holiday gifts and they turned out so delicious that I really needed to come up with some pretty packaging to compliment them. I started out with some cardboard boxes that are usually used as disposable baking pans. Next I added some decorative cupcake liners and nestled the caramels and marshmallows into them.
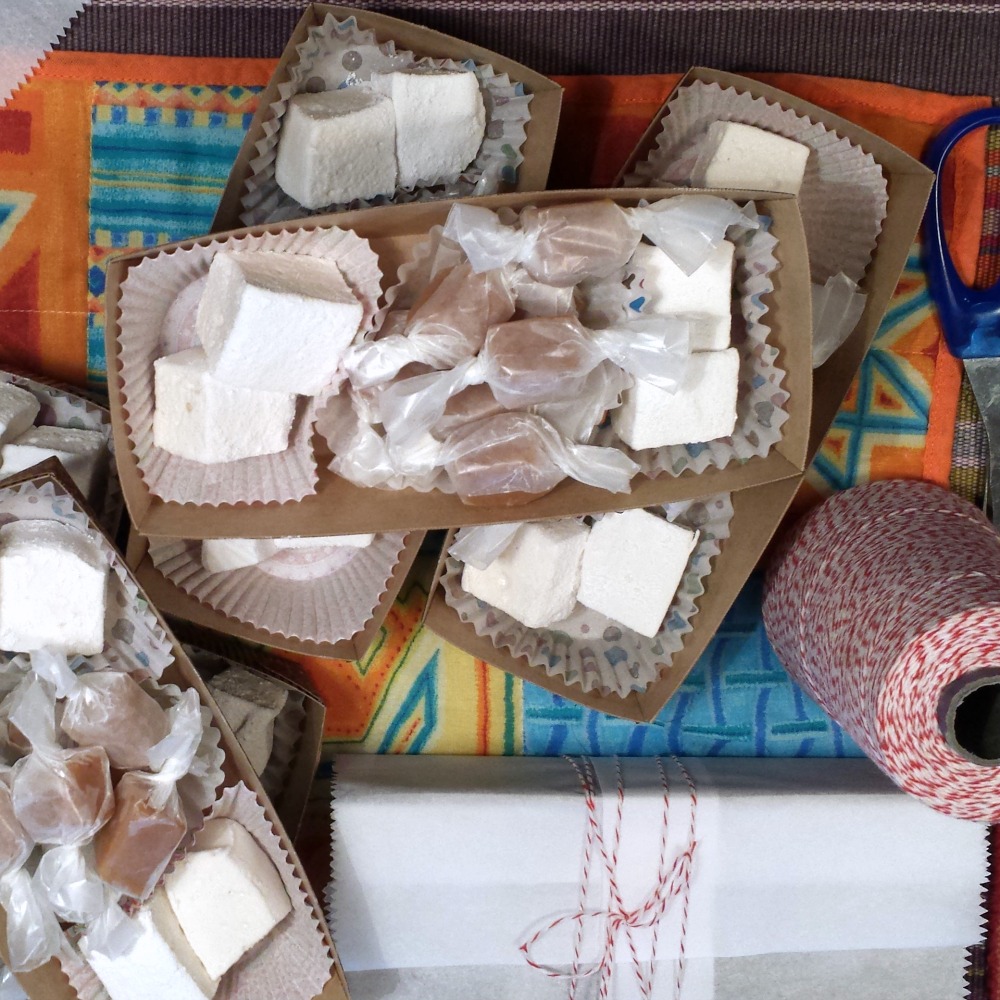
I happened to have some pre-cut parchment paper (which is the best thing ever by the way) which I folded down so that it fit the size of the box and had a decorative band in the middle, and I trimmed the edges with pinking shears for a cute little touch.
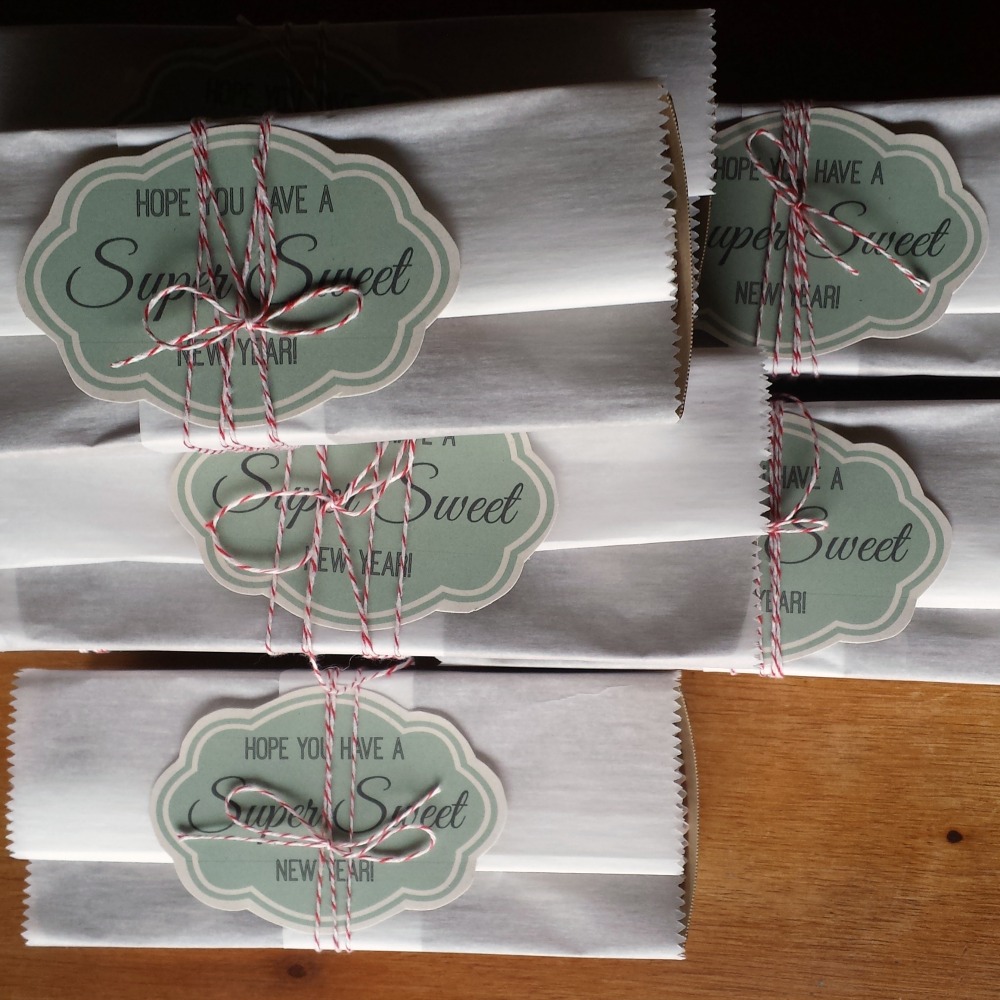
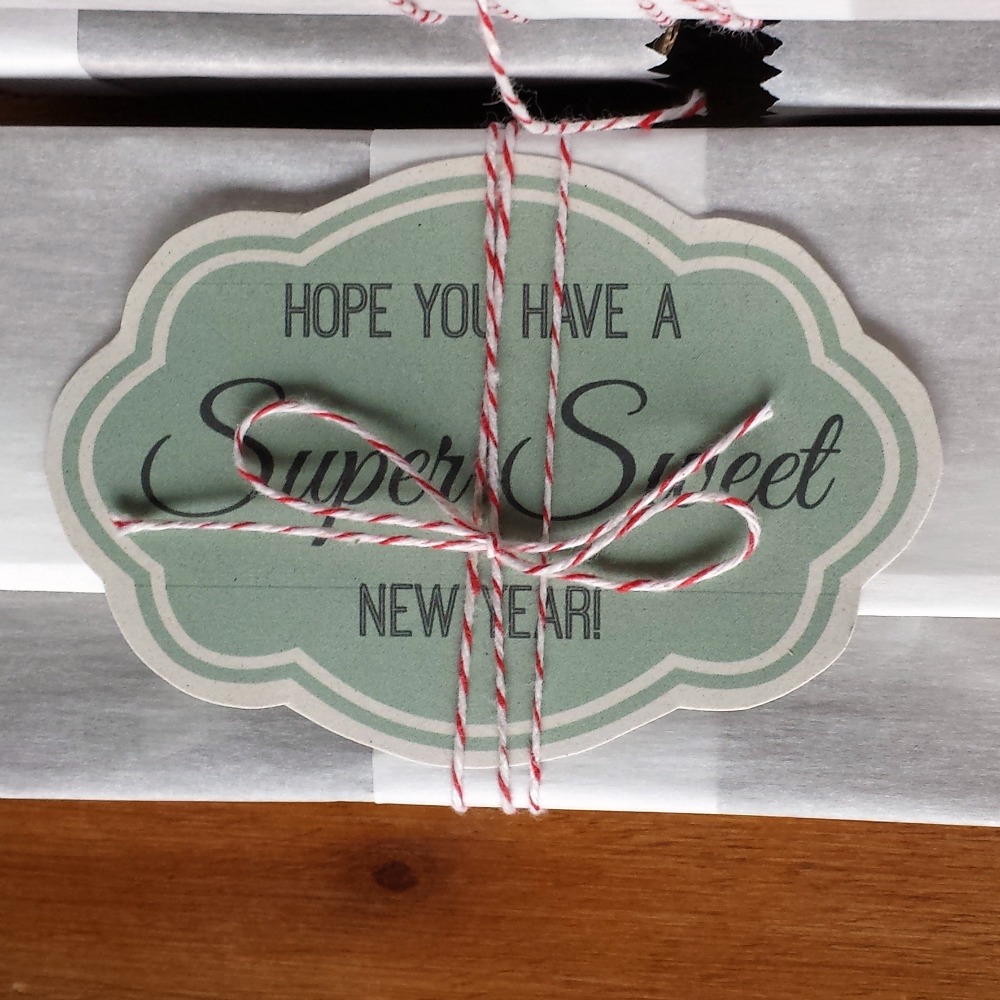
Next I used a long strand of bakers twine to wrap around the package and tie off to secure it. Finally the boxes needed a something else – a label! I made up a label using PicMonkey, printed out a bunch on cardstock, cut them out and slipped them under the baker’s twine.
Happy New Year!

Wishing for you the best year yet! We spent last night with the kids and a 2015 countdown – they had envelopes to open at certain times with fun activities – we went out to dinner, had a sundae bar, played party games and board games, and everyone still managed to fall asleep by 11:30pm! Ah well, at least we’re rested today. Happy New Year!
Homemade Caramels and Marshmallows
I love making homemade gifts for Christmas – some years almost everything I gift is homemade and some years it’s only a little token. This year I’ve got a serious sweet tooth going on so I had to try my hand at marshmallows and caramels.
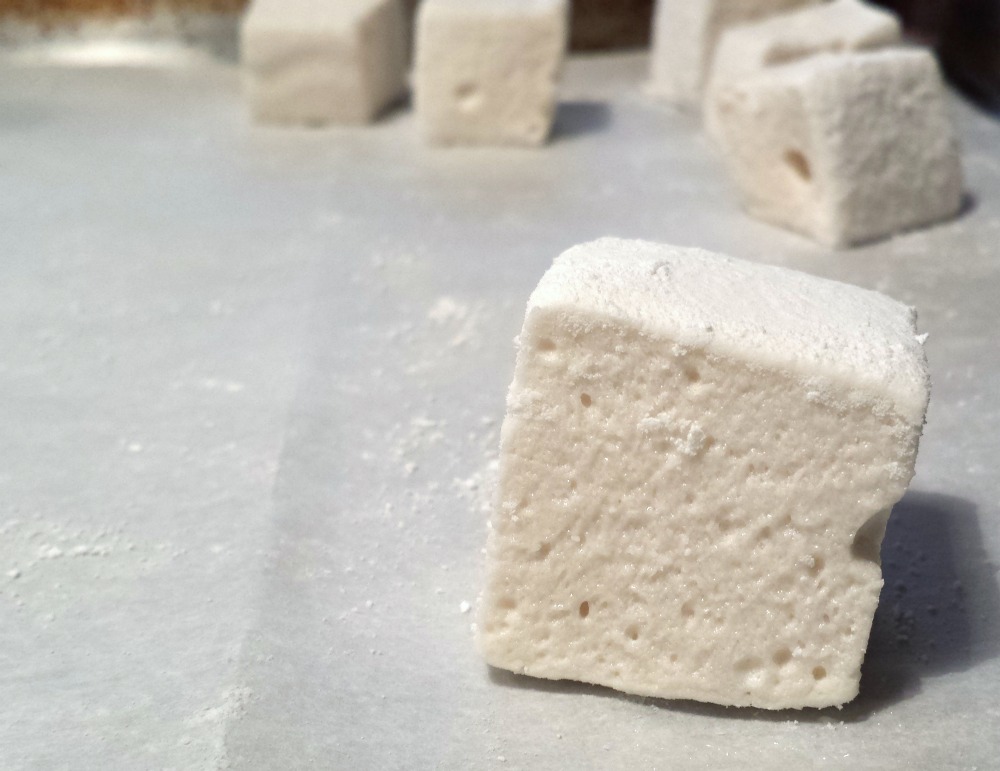
First up were the marshmallows – I have had the cookbook “Marshmallow Madness” for a few years now and for some reason I was too intimidated to try them before now. Even though the author is completely reassuring and the recipes are straightforward I just thought it couldn’t be simple to make marshmallows. How wrong I was! It’s so easy to do! I kind of felt like it was life-altering to make homemade marshmallows and I also kind of can’t wait for the summer so I can try out s’mores with my own marshmallows. I also kind of can’t wait to make some of the other flavored varieties – I just need an upcoming holiday or other reason to gift them so I don’t eat the whole pan. Maybe Valentine’s Day?
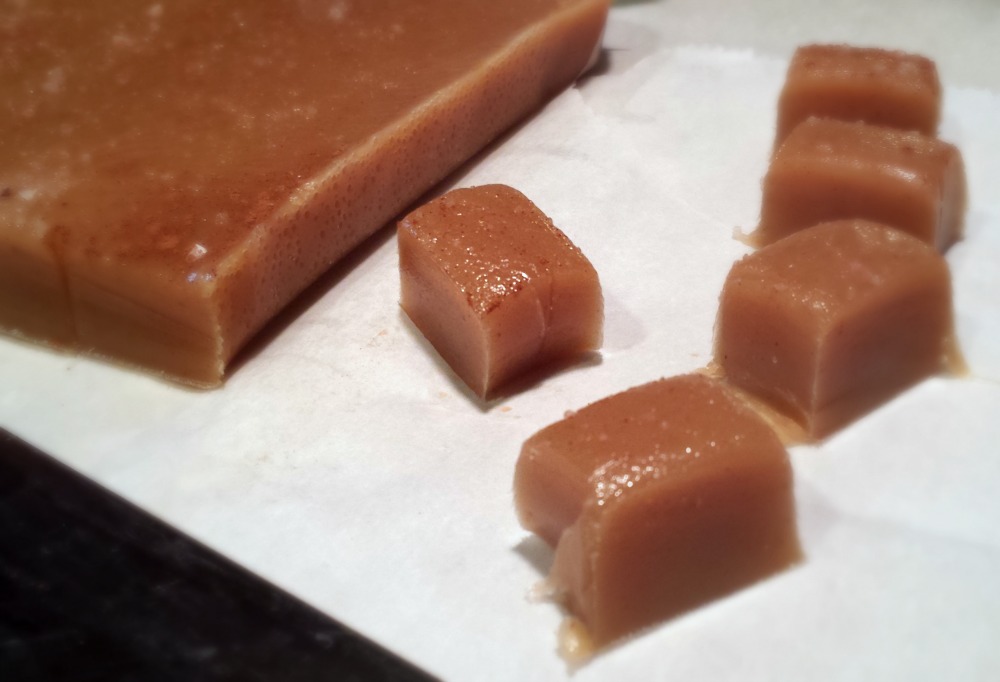
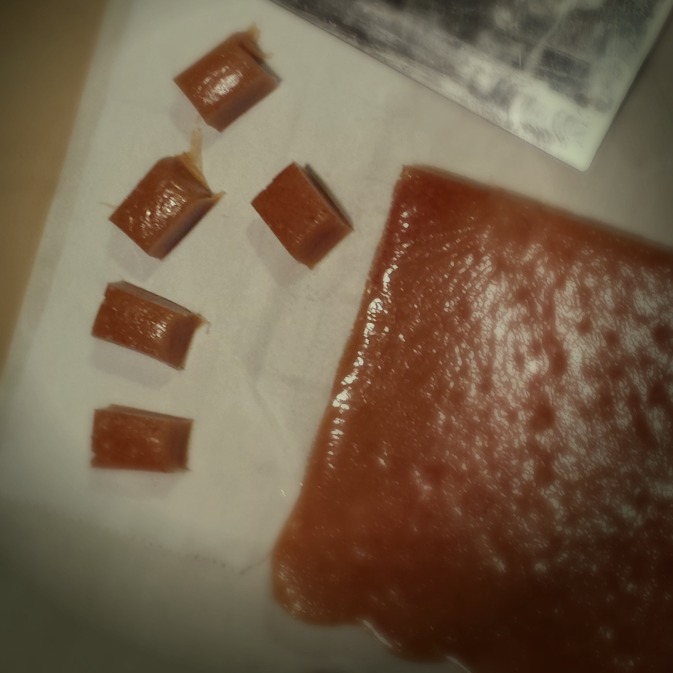
I’ve also wanted to make caramels for a long time. We made them once when I was a girl and we must have overcooked them, because they ended up hard as a rock (like break your tooth hard) and so I’ve been scared to tackle those again too. The lure of making Apple Cider Caramels was too much though, so I finally overcame this other candy fear and got to work.
Months ago, in anticipation of making these caramels I made Boiled Cider, using the homemade apple cider that our family made earlier this fall. Then, armed only with a candy thermometer, I set out to tame the caramels. And guess what? They also weren’t all that hard, and they were absolutely amazing! I could have eaten the whole batch but I’m glad I didn’t – instead I wrapped them up for gifts as well. I definitely sense more candy-making in my future!
Merry Christmas to All and to All a Good Night

I hope that this Christmas night finds you happy, healthy, and with peace in your heart! Merry Christmas!
Galletas de Navidad or Tita’s Christmas Cookies
Do you have a special cookie recipe that you just absolutely must make each Christmas? One that actually defines the holidays for you? Maybe your family is like ours and each parent brings their own must-have cookie to the mix. For us the special Christmas cookies are the Chocolate Drops that my grandma and now my stepmom makes each December, and Tita’s Galletas de Navidad (Abuelita’s Christmas Cookies). Because Tita lives so far away from us it’s up to me to make the Galletas de Navidad and bring the taste of Christmas into our home.
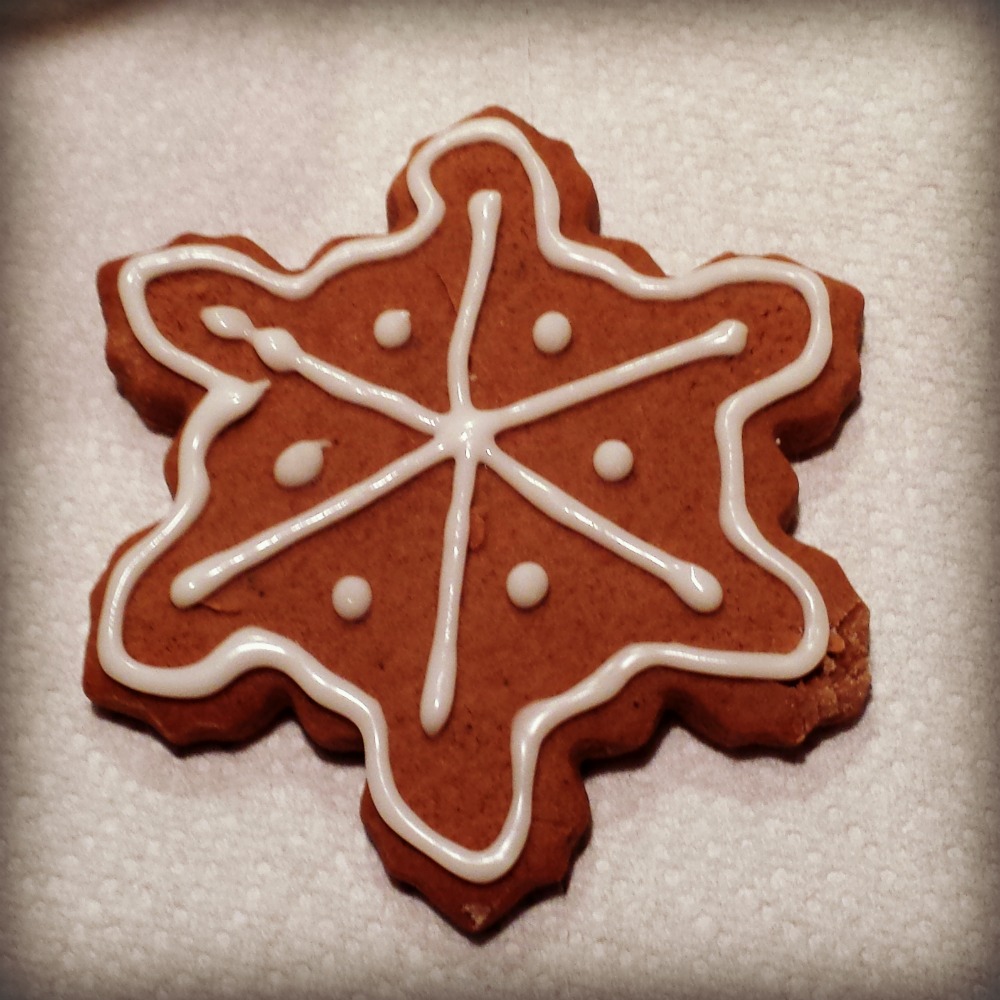
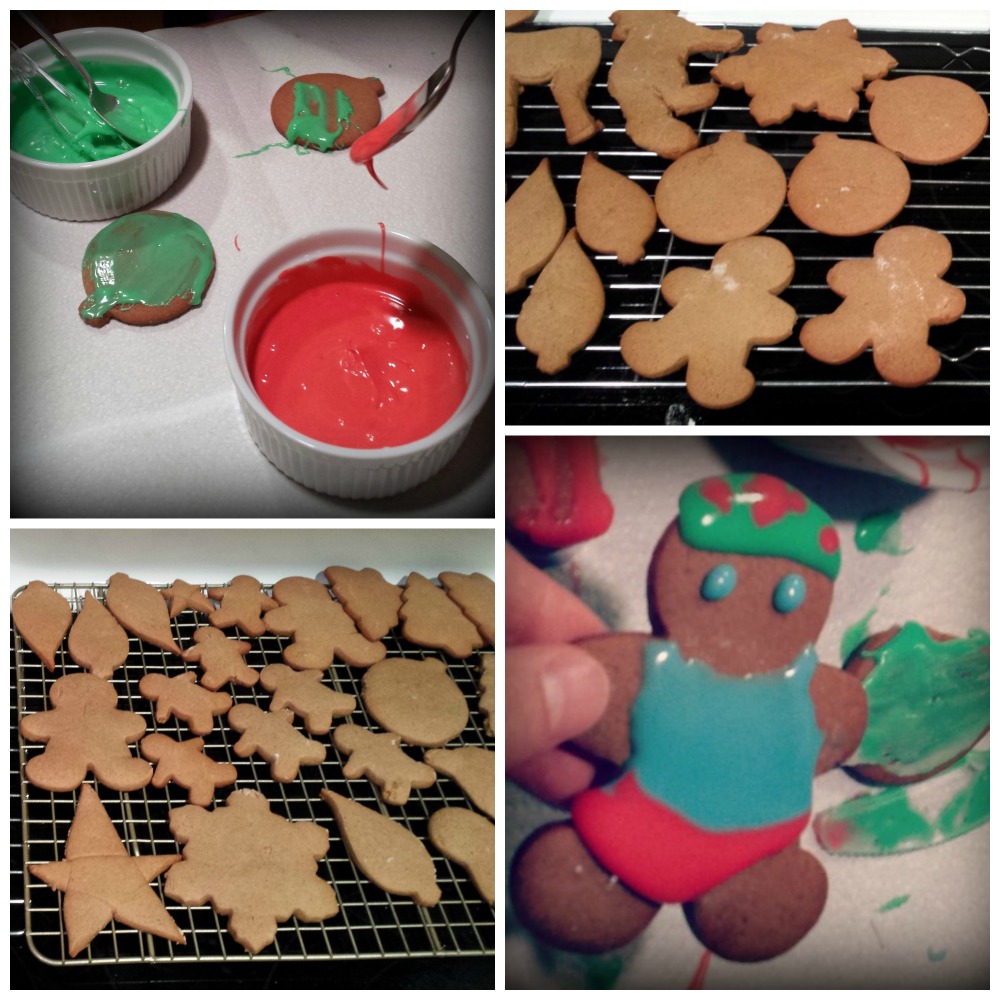
We’re not sure where the recipe for Galletas de Navidad came from – Tita grew up eating them but we don’t know how the recipe came into her family. They’re vaguely german – somewhere between pfeffernusse cookies, lebkuchen and springerle. We roll the cookies out and cut them into shapes, then glaze them with a lemon sugar icing. The warm Christmas spices of cinnamon, anise and nutmeg give a great traditional flavor and the cookies keep well too.
Galletas de Navidad / Tita’s Christmas Cookies
makes approx. 3 dozen cookies
Ingredients
- 1 cup butter, softened
- 1 cup dark brown sugar, packed
- 1 cup honey
- 1 egg
- 1 TBS cinnamon
- 2 TBS cocoa powder
- 1 TBS ground cloves
- 1 tsp anise seeds steeped in 1 TBS hot water
- 1/2 tsp salt
- 1 1/2 tsp baking soda dissolved in 1/4 cup water
- 5 cups flour
Directions
1. Cream together the butter and sugar.
2. Mix in the honey, egg, cinnamon, cocoa powder, cloves, salt and anise seed (with the water it was steeped in).
3. Mix in 3 cups of the flour and the baking soda with its water.
4. Mix in the remaining 2 cups of flour one at a time.
5. Chill for at least 2 hours in the refrigerator.
6. Preheat oven to 350 degrees F.
7. Roll out the dough to 1/4 inch thickness, cut out shapes with cookie cutters and put them on baking sheets lined with parchment paper or a silicone baking mat.
8. Bake cookies for 8 minutes. Cool for 5 minutes on the baking sheet and then cool completely on racks.
9. Ice with your favorite sugar cookie icing or (our favorite) a simple confectioner’s sugar and lemon glaze.
Swiss Chard and Artichoke Tart
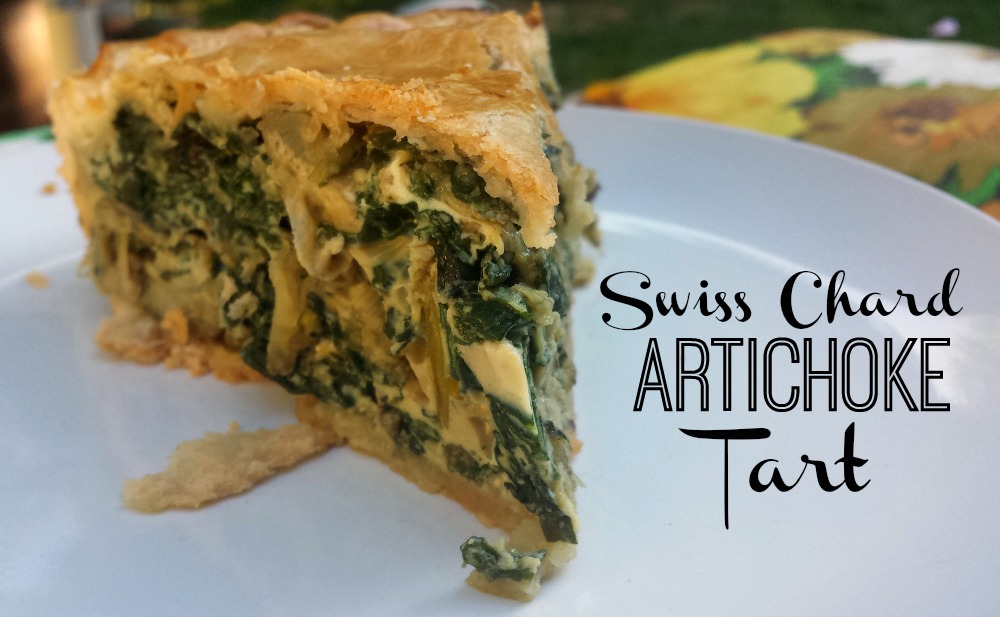
Savory tarts are some of my favorite things to eat – I love the combination of the rich crust, the flavorful vegetables, the filling egg and salty cheese. They’re also versatile, so you can serve them for breakfast, lunch or dinner. In Peru there is a popular swiss chard tart made with whole eggs baked in the middle – this swiss chard artichoke tart is a variation on that with the egg mixed into the chard instead, and the addition of artichoke hearts.
Because I’m really trying hard to cook healthy food for my family, we end up eating a lot of simple grilled or baked meats or fish – my old standby dishes are often too loaded with fats and sugars to fit into our menu anymore. This tart tastes like a treat, but it’s packed with leafy greens and protein so it’s good for us too.
Swiss Chard and Artichoke Tart
serves 8
- 1 package prepared pie dough (2 sheets), or your own favorite dough recipe divided into two and rolled out into circles
- 1/2 cup yellow onion, chopped (about 1/2 medium onion)
- 20 oz Swiss Chard, chopped
- 10 oz Artichoke hearts, quartered (I like using the frozen kind so they have no added oil, but thaw them before using)
- 6 eggs
- 1/2 cup Gouda cheese, grated
- 1 TBS olive oil
- 1 tsp kosher salt
- 1/2 tsp black pepper
1. Heat the olive oil in a large pot or dutch oven over medium heat, add the onion and saute until the onion has begun to brown lightly.
2. Add the chard and stir occasionally for about 20 minutes, until it has softened and reduced in volume. (you might need to add it in two batches, depending on how big your pan is – if you do, let the first batch cook down some and then add the second).
3. Add the artichoke hearts and the salt and pepper and cook for about 5 minutes more, then remove the pot from the heat and let the mixture cool.
4. In a mixing bowl, lightly beat the 6 eggs and then add the grated cheese and stir to combine.
5. Line a 9″ pie plate with one of the dough circles and lightly prick the bottom of the crust with a fork.
6. Once the chard mixture is cool, add it to the egg mixture and fold the two together until they are mixed well, then put the filling into the pie crust.
7. Top the pie with the second crust, crimp the edges of the bottom and top crusts together and cut 4 slits in the top to let the filling vent.
8. Brush the top of the crust with milk or an egg wash to help it brown, then cook in a 425 degree oven for 30 minutes. Let the tart cool slightly before serving it – this tart is delicious hot, room temperature or even cold from the refrigerator.
Home Pressed Apple Cider
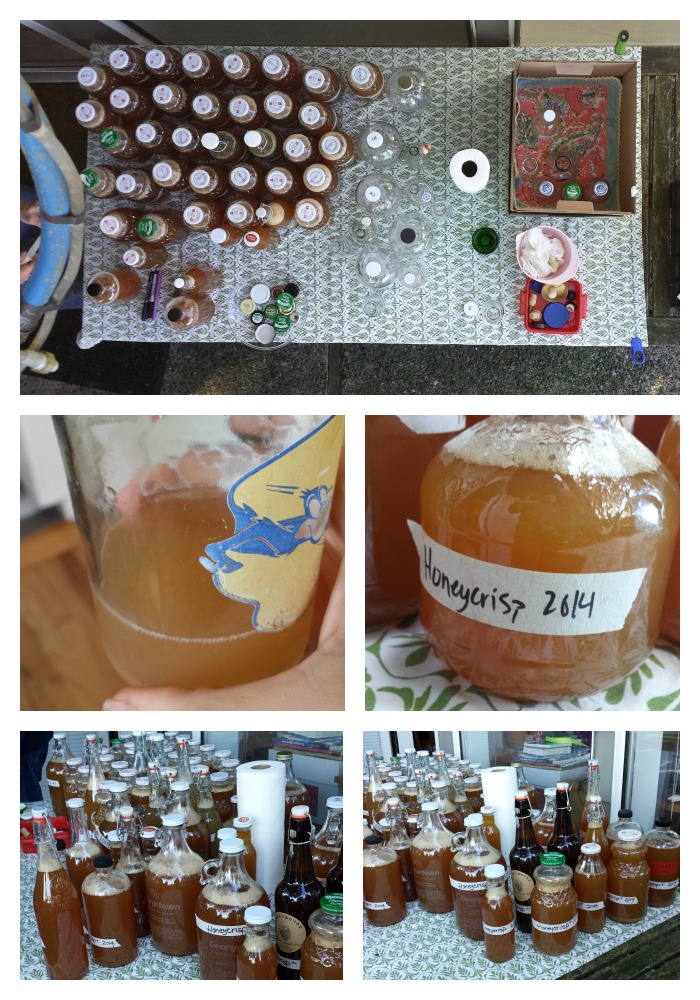
Every year my extended family gathers in the fall to make home pressed apple cider. It’s one of our best and most enduring traditions – this year was our 34th year pressing cider, which is kind of amazing if you think about it. Some of my cousins weren’t even born when we started “Cider Day” and now there are grandchildren participating too.
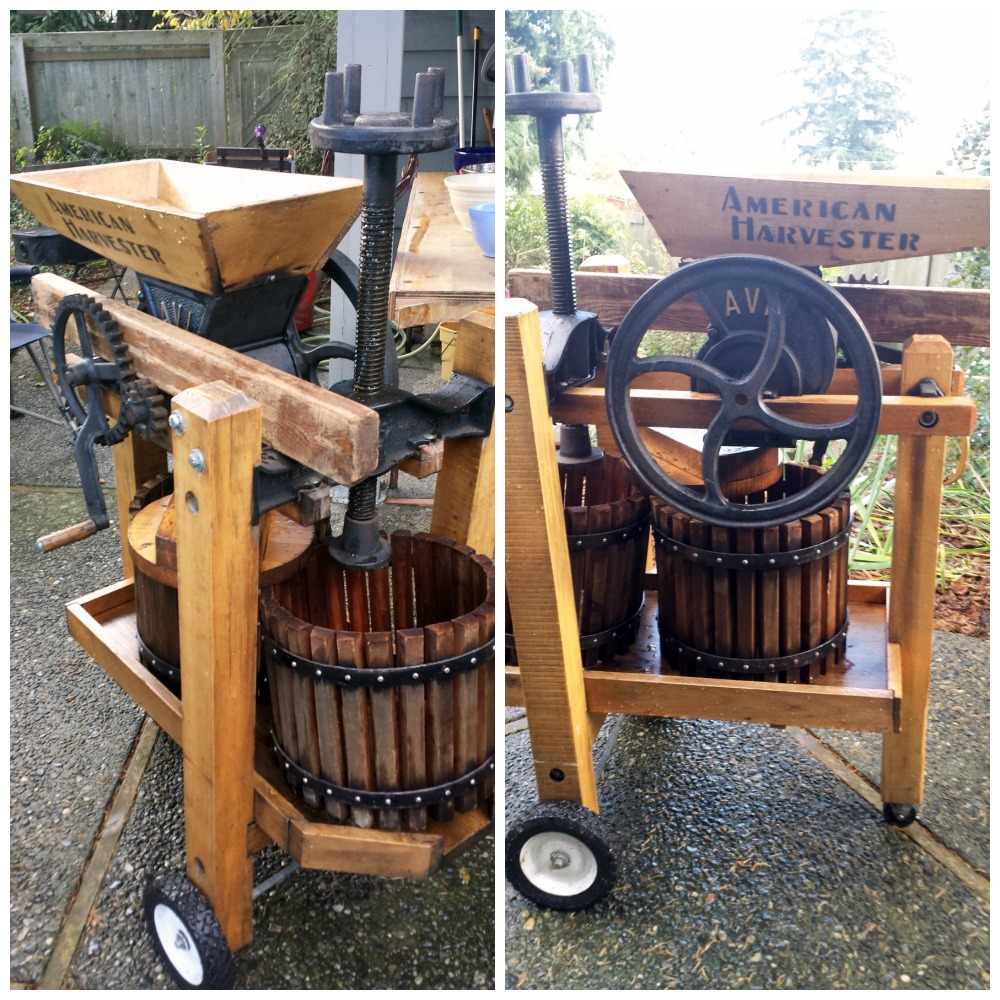
My aunt and uncle have an old wooden cider press that’s all manually operated – no machine grinding or cranking for us. The process is simple – we start with apples, lots of apples:
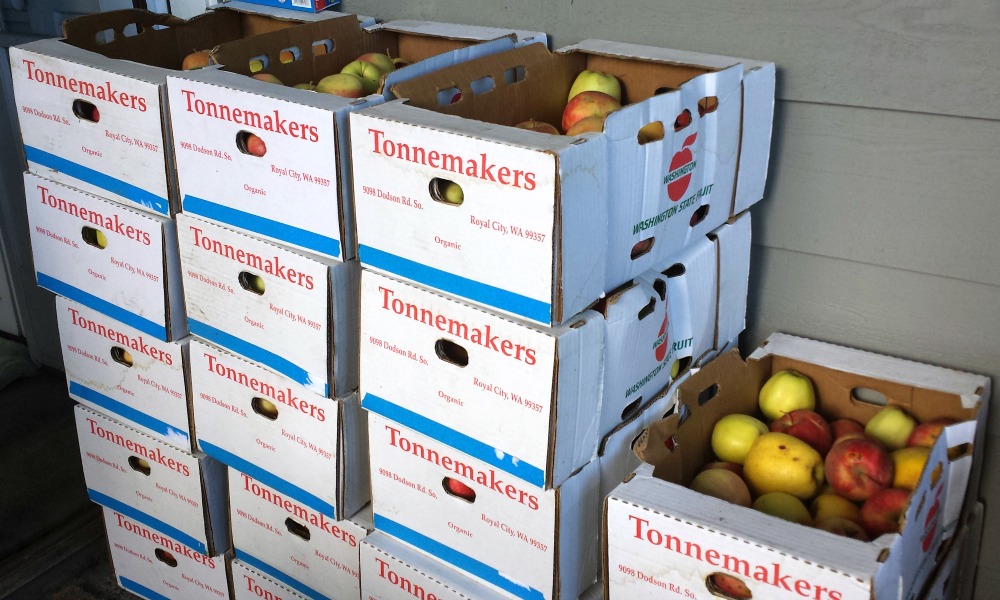
The tradition initially started when a number of our families had apple trees in the yard and lots of apples in the fall. Now almost no one has any trees (and those of us who do have kind of wormy apples) so we buy apples from an orchard in eastern Washington. They’ve been Tonnemakers apples for quite a few years now, and we usually have a few other random boxes as well.
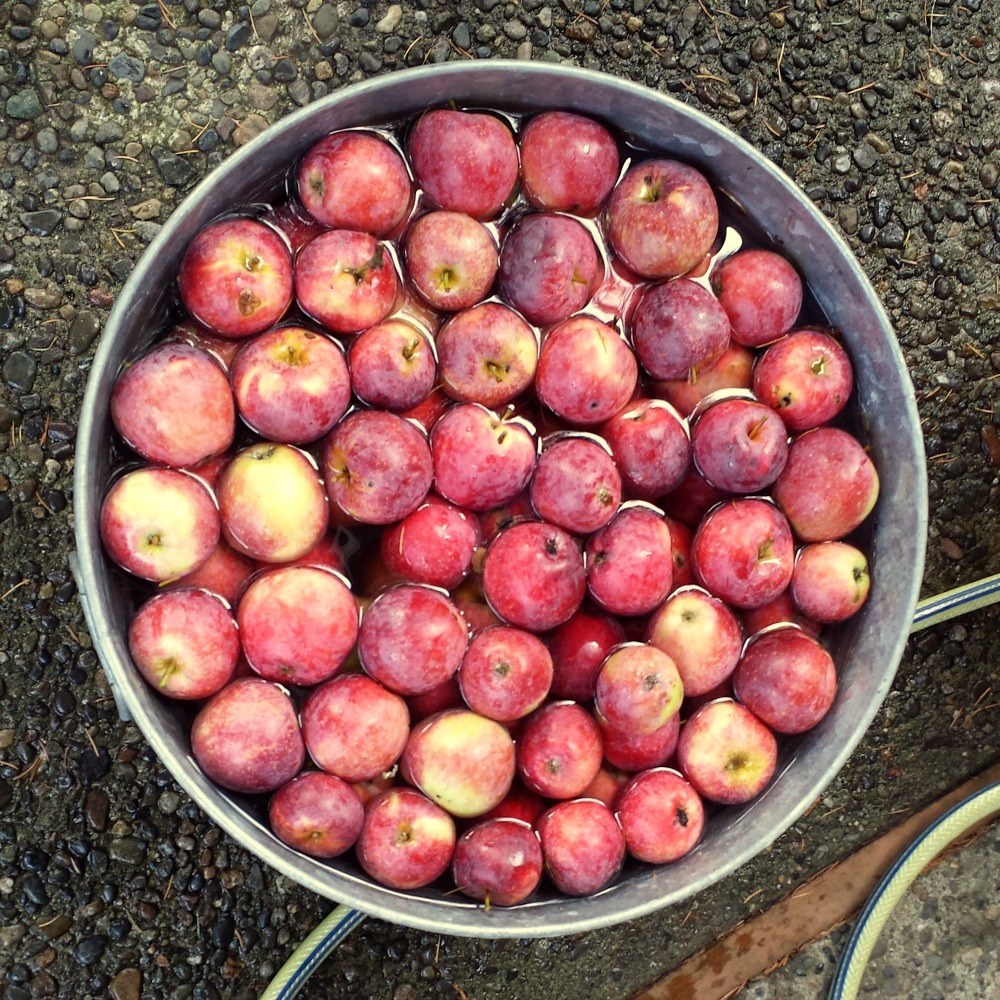
The apples go into a galvanized steel tub of water to get rinsed off, and from there they’re up onto the cutting boards for a rough chop. The grinder is pretty powerful so we only need to cut the apples into eighths before we dump them in to get ground up into a kind of apple mush.

The grinder spits the apple mush into a kind of a barrel (wooden staves open on the top and bottom) and when the barrel is full a heavy wooden cap is placed on top and the press is screwed down, which presses the cap into the apples and the juice out. Once the apples are pressed dry the leftover mash is dumped and the process is repeated again. We strain it into bottles, cap them and voila! Cider! Everyone drinks their fill of cider on cider day and we all get bottles to take home as well. This year I’m trying my hand at fermenting a bottle – I’ll have to give the results in a few months.
Homemade Lego Candle Holders for a Birthday Cake

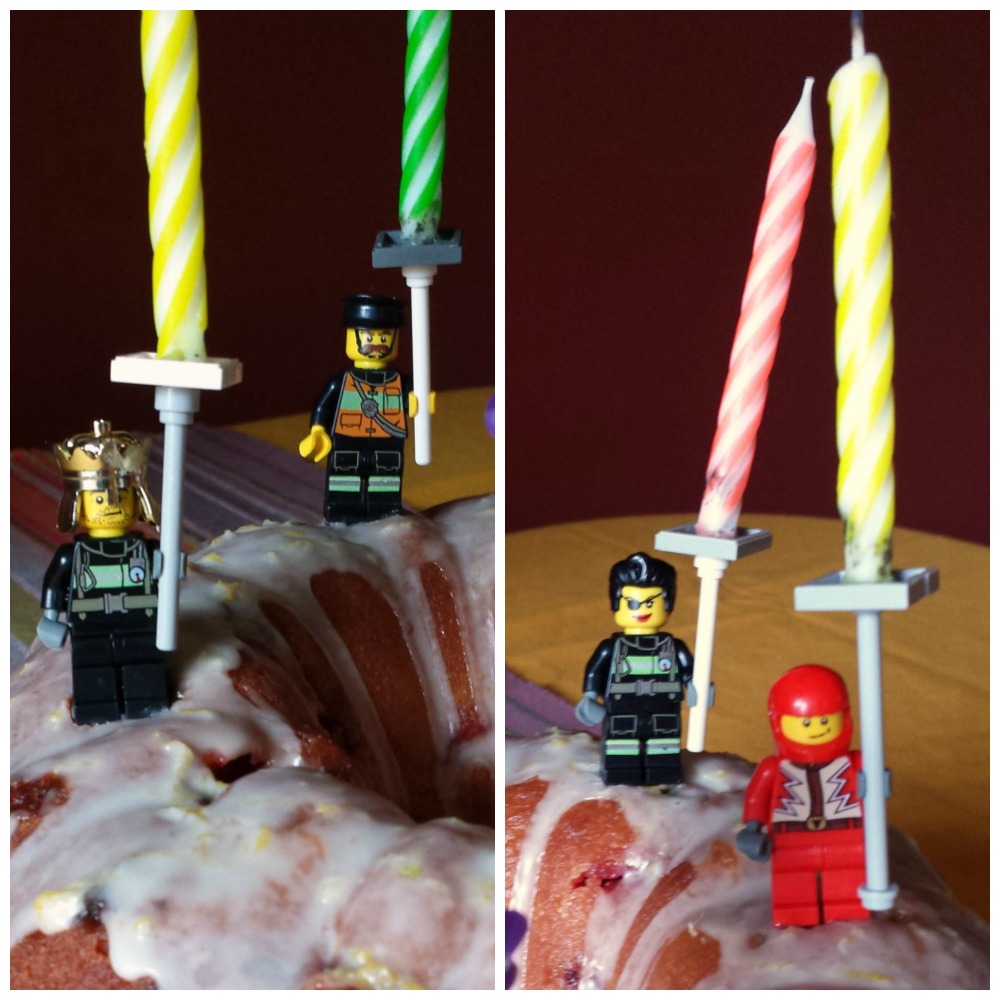
My son is absolutely obsessed with Legos, so for his fifth birthday I wanted to add a little lego touch to his cake. His favorite cake – the one he always asks for – is my Raspberry Lime pound cake, which has just a simple sugar glaze. This cake doesn’t lend itself to fluffy frosting decorations, so I knew I’d have to do something with the candles instead. We’ve used lego brick-shaped candles before, but I was hoping to come up with something different. Then, playing with legos one day about a week ago I had an epiphany – I could use minifigures to make homemade lego candle holders for his cake.
Off to the giant lego bin I went, to play around with different pieces and see what I could come up with. I wanted to have four different figures, and I mixed and matched several to make them a bit more unusual and fancy. Next I added a stick to each one’s hand, and a square at the end of the stick (I used the small squares with just one stud in the middle). Finally I melted the bottom of regular birthday cake candles and stuck them onto the squares.
In order to hold the lego candle holders onto the cake, I cut bamboo skewers into about 3 inch lengths, stuck them into the cake and then pushed each minifigure onto a skewer through the hole in the bottom of its leg. I think that they would stand up just fine in a denser frosting. These minifigures were a hit – my son loved them, the other kids loved them, and they even kept the melted wax off the cake, which was a nice bonus.
Ooodles of Zoodles!
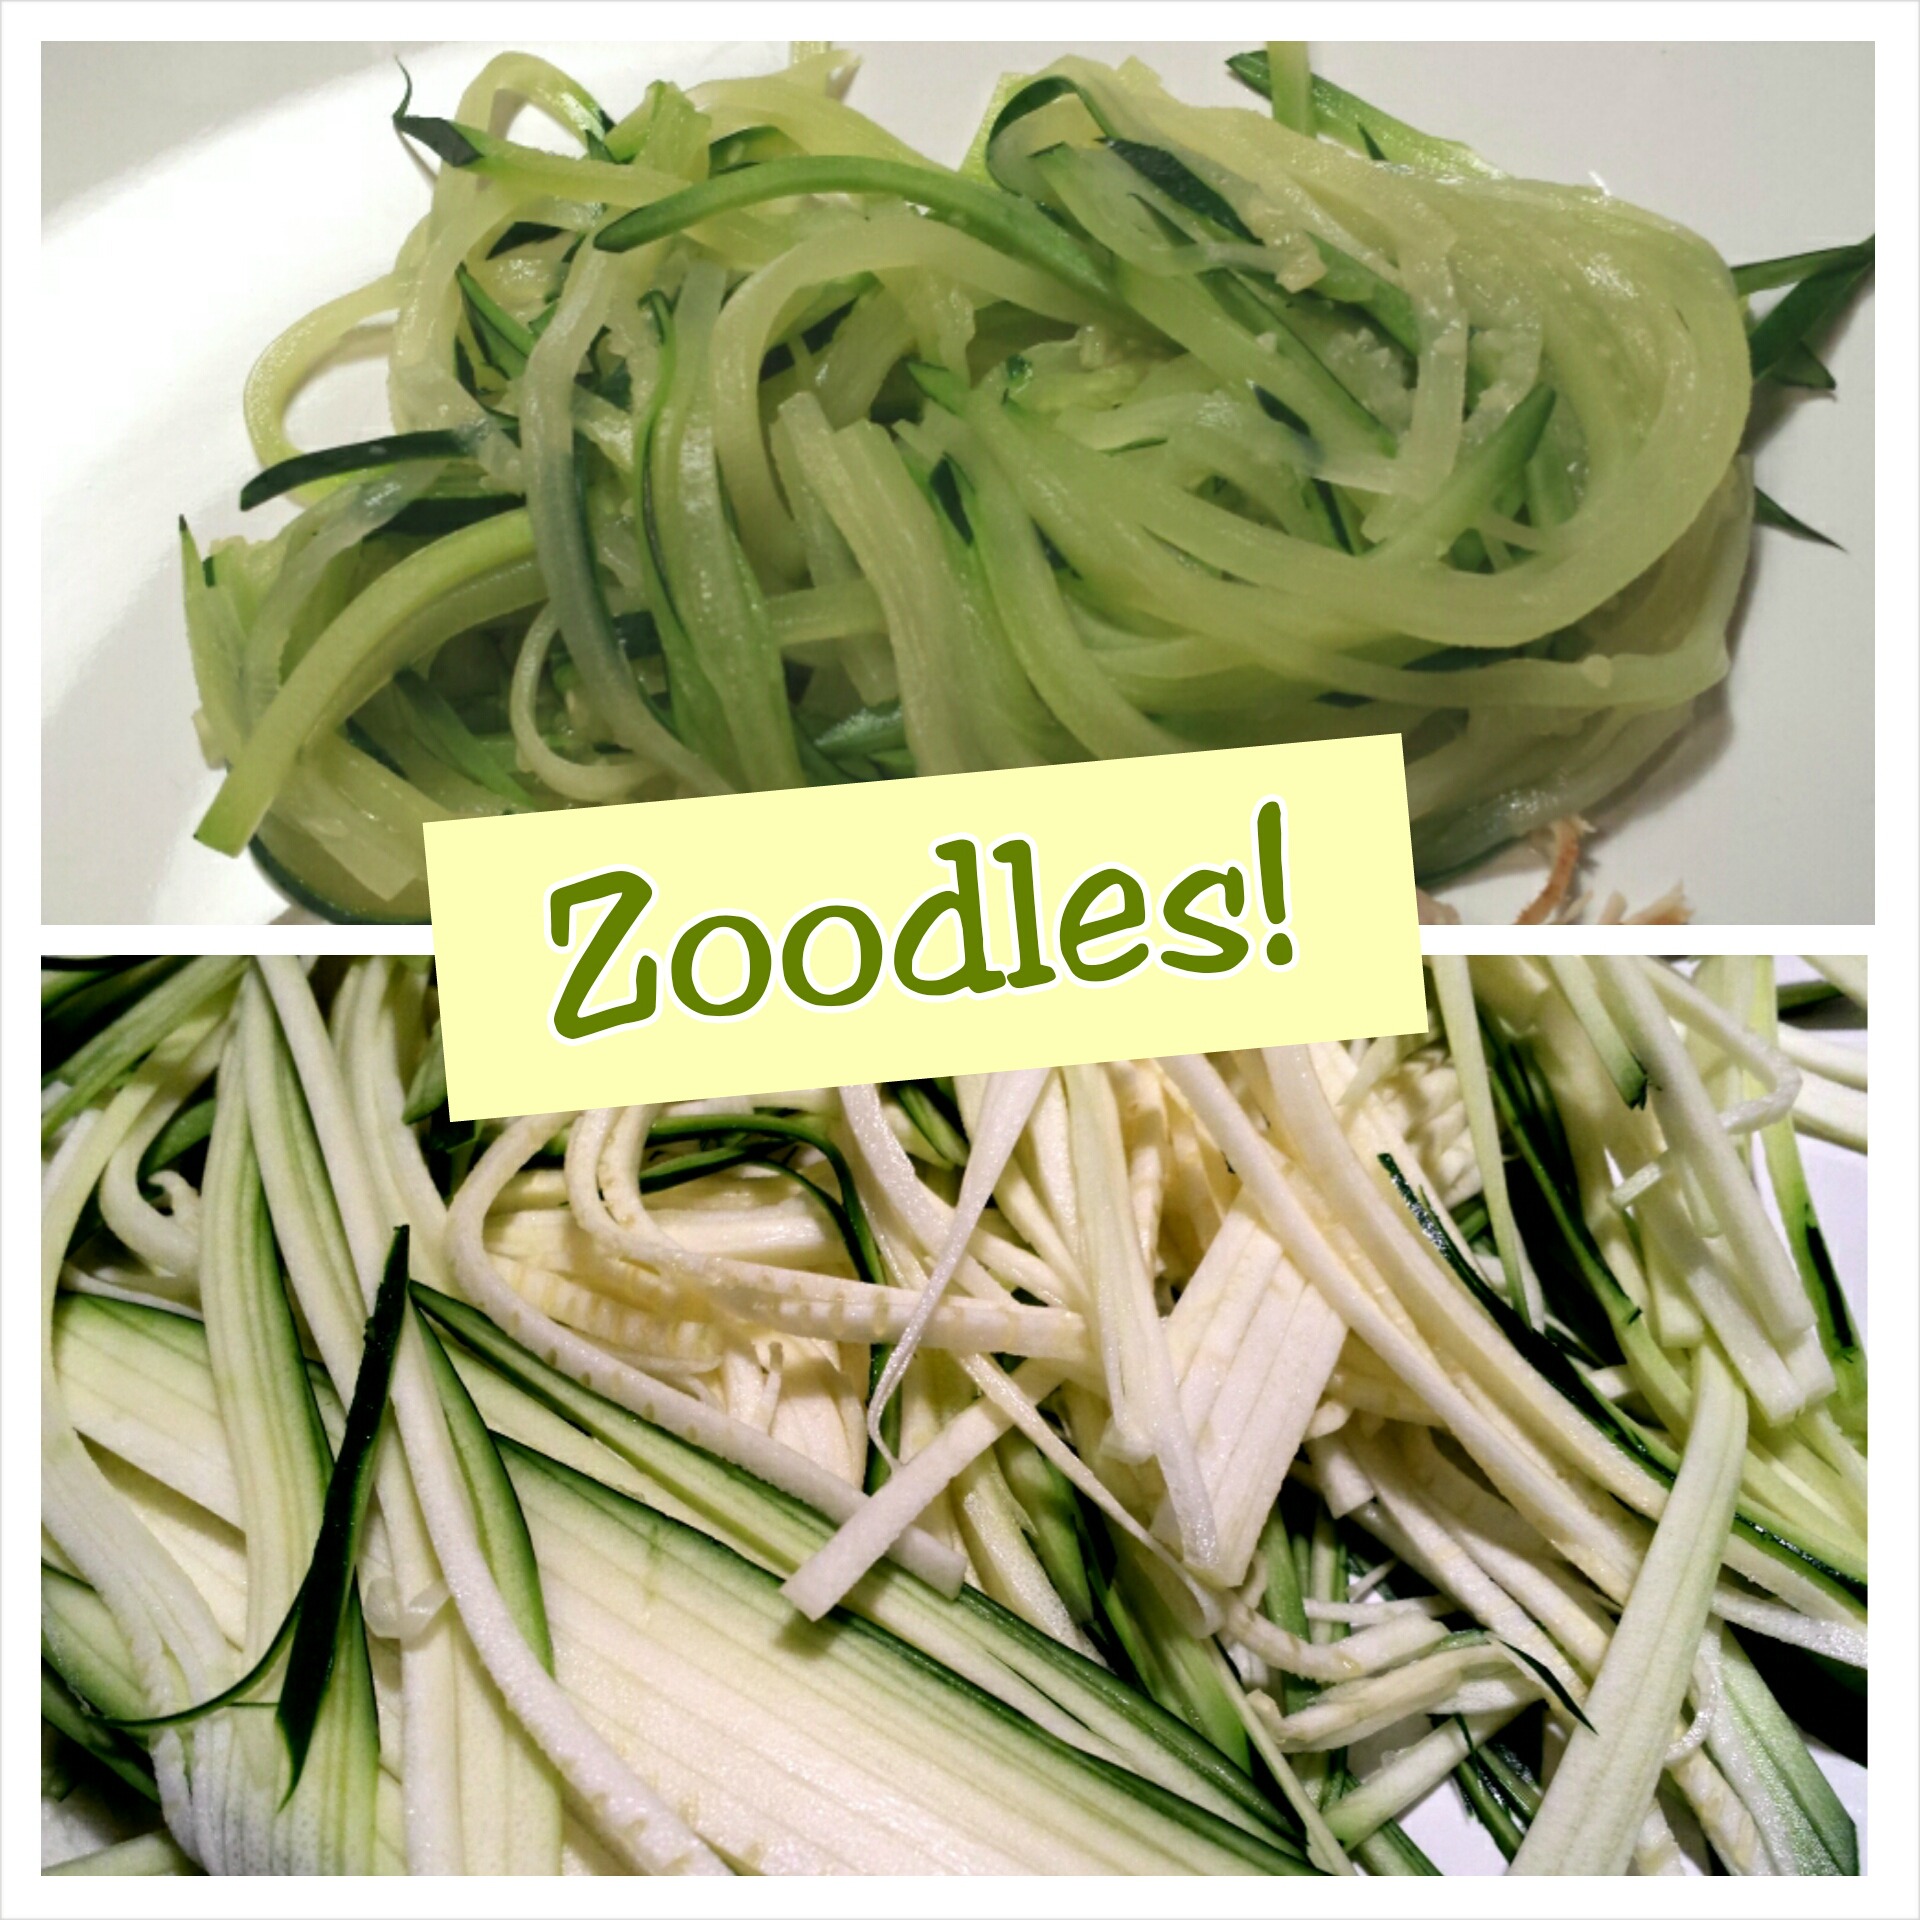
Have you heard of zoodles? They’re thinly sliced zucchini strips that can mimic noodles in pasta recipes and I just can’t get enough of them. They’re simple to make if you’ve got the right equipment – lots of people I know use spiralizers and love them, but I get good results using a mandolin that I happen to already have. Since I don’t have a ton of kitchen storage I try to make do with what I’ve got, and the mandolin with a julienne blade works just fine for me.
The technique is super simple. Use a large zucchini (the larger the squash, the longer the zoodles will be) and either with the spiralizer or mandolin slice it into long skinny strips. These are your zoodles! Now you don’t want to overcook them, so you can either boil them in salted water for just a few minutes (3 minutes tops!) or else add them to sauce that is simmering and again, don’t overcook them. We like to eat them with our favorite pasta sauces (they’re excellent with pesto and we love them with meatballs and red sauce), as a base for stir fries instead of rice, and they also work great as a side dish just lightly dressed with olive oil, butter or soy sauce.
Zoodles are so light and refreshing – they can turn a heavy meal into a really healthy one, and it’s very satisfying to see your children gobble up a big pile of zucchini. We still love our pasta, but zoodles are a winner in our house now!

Letting Go of Perfection
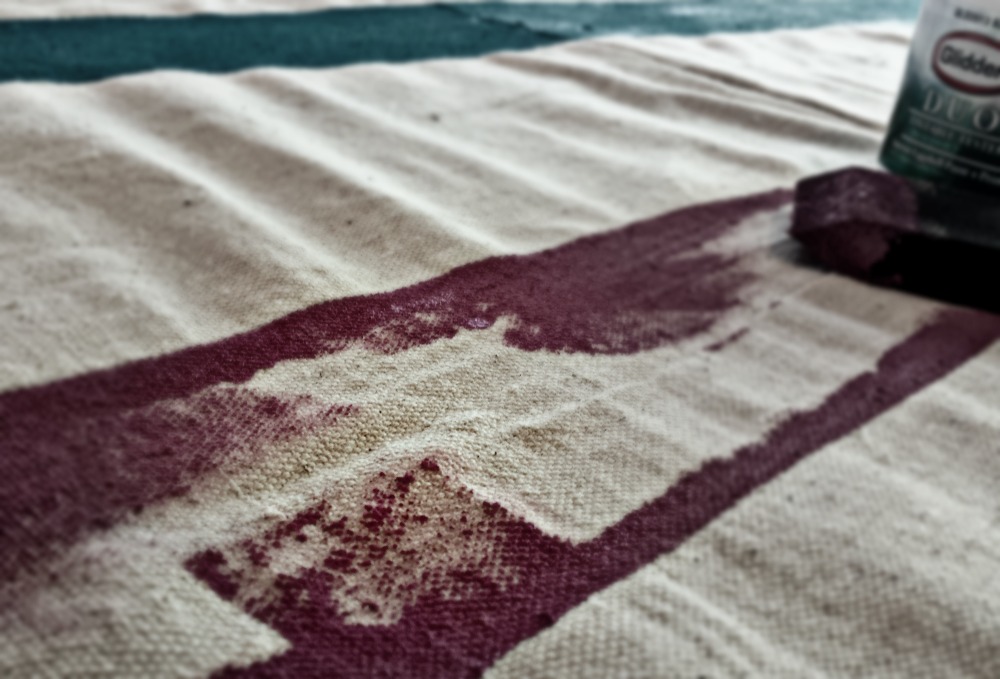
I learned an important lesson today, about perfection and how important it isn’t. I was working on a project (that might make it’s way onto this site soon) and part of it involved painting straight lines. My daughter really wanted to help, but I really wanted it to be perfect. A lot of people were going see it and my pride was definitely in the way – I knew that her lines wouldn’t be that straight. I didn’t want to quash her desire to help though, so I told her I’d do the edges and she could fill in the middle, and of course even then the edges got painted over, drips got onto other parts of the fabric and it was anything but perfect.
As we painted together, I managed to keep my inner perfectionist in check and didn’t say anything about the ‘mistakes’ and you know what? The project turned out great. It will do its job of blocking the wind, it will look cuter than it would without being painted and best of all it’s a project we did together that we can both be proud of – and that’s better than perfection any day.
Follow Me
What I’m Reading
